
Web Development Foundations
I’ve written many articles about web development and the different technologies involved. In the future, I really wanted to have some kind of shared understanding about the foundation that makes up these technologies that I’m writing about. That’s what I wanted to talk about today. I wanted to go through the bare essentials, what they are, how they work, and how to get everything installed and set up on your machine. This is going to be a great beginner’s guide to everything you need to know to get yourself up and running.
HTML, CSS, and NodeJS
We’re going to start at the bottom. This is the foundation that everything else is going to sit on top of. What exactly are these things? To start, let’s go over HTML and CSS, the OG web development tools.
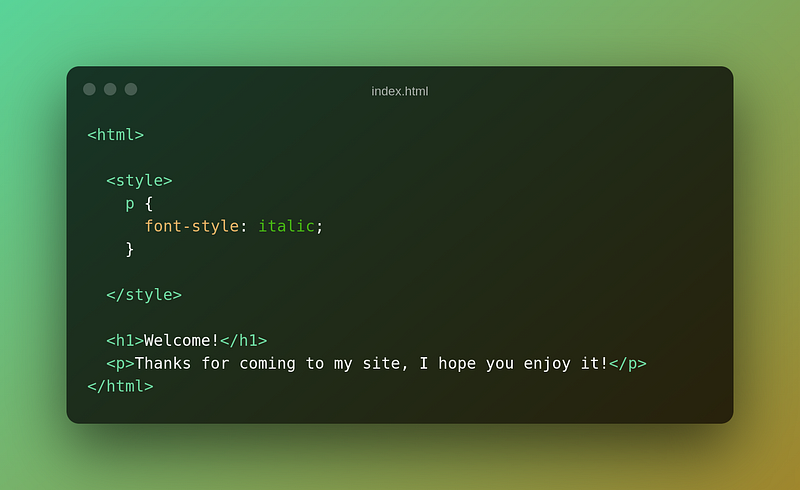
HTML stands for HyperText Markup Language, and as the name implies, it’s not really a programming language. A markup language is really used to design elements of a document, usually in a (semi)human-readable way. Let’s think about something like a heading with some text.

This would look a lot like the following:
Welcome!
Thanks for coming to my site, I hope you enjoy it!
The h1 tag represents a Heading 1, or the largest heading available. The p tag represents a paragraph tag. HTML is only meant to place these things where we want them. But what if we want it to look a little cooler? That’s where CSS comes in or Cascading Style Sheets. This is the spice to your cooking. Let’s see what we can do with a little CSS.
Welcome!
Thanks for coming to my site, I hope you enjoy it!
This isn’t even scratching the surface of what CSS can do, but it demonstrates what CSS is meant for. These two technologies have been the foundation of web development for a long time, and they’ve gone through a lot of changes since their inception.
So, where does NodeJS fit into things? To answer that question, we first have to talk about JavaScript. JavaScript has an interesting history that I’ve talked about in the past. Fortunately, I won’t bore you with a history lesson today. All you need to know about JavaScript is that it’s a programming language that makes most modern websites function. You have HTML to lay your components out on the page, CSS to make those components look good, and then JavaScript to make them do stuff.
Traditionally, JavaScript has been the programming language of the web, otherwise called Front-End Development. Where does NodeJS come into play? Well, as JavaScript became more popular, people realized that they could leverage the programming language to do more behind-the-scenes things or Back-End Development.
What is the difference between back-end and front-end development?
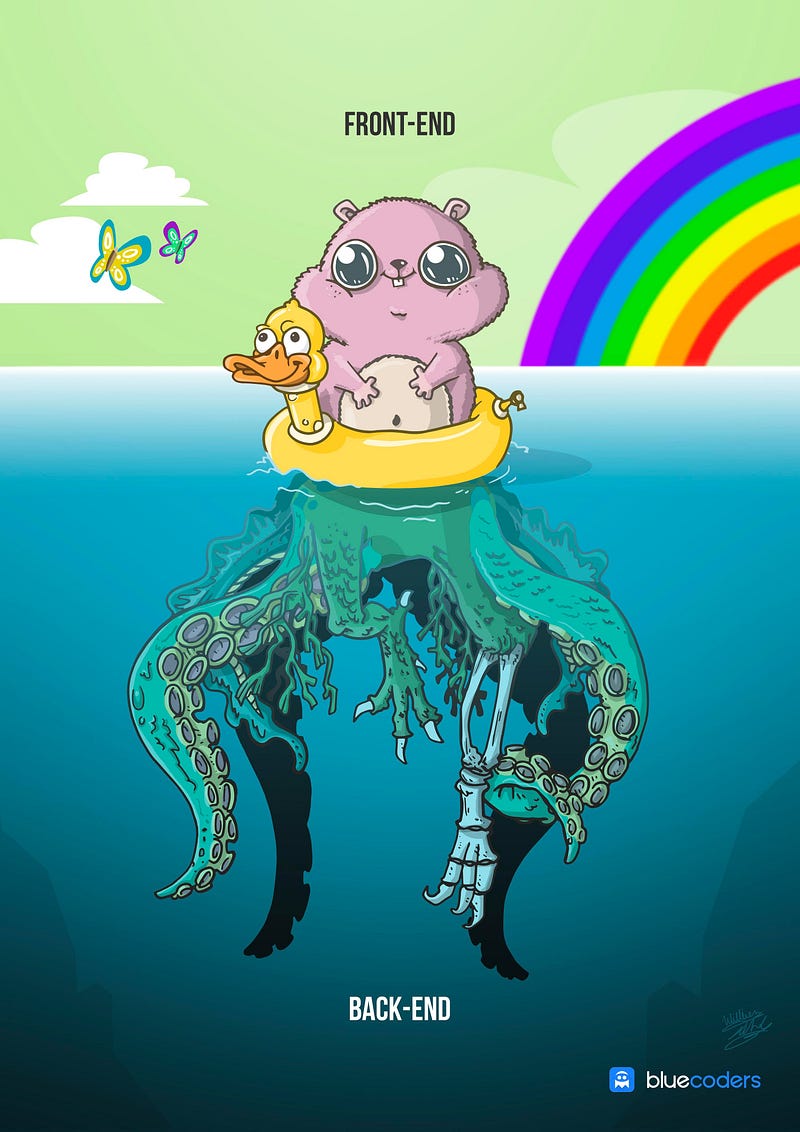
I think the image above says it all, really. The front-end is what users would interact with and see on a daily basis. These have a lot of functionality inside them, but not everything can be encapsulated directly into the front-end code. Let’s take payments, for example. If you’ve ever purchased anything online, you’ve interacted with the front-end when you’re putting your payment info into the correct text boxes. Once you hit the purchase button, that information is sent to a different set of code running on some servers somewhere to actually process the payment.
Now that we know a little bit about the back-end and front-end, let’s talk NodeJS. NodeJS is JavaScript, but for back-end development. NodeJS isn’t a new programming language, though; it just provides a runtime for JavaScript to run on your computer separate from the browser.
Generally speaking, JavaScript has not been able to run outside of a web browser, like Chrome or Safari. Every web browser has a program running in them called a runtime that executes your JavaScript code. In today’s day and age, we can have an entire suite of applications written with a single programing language from the front-end to the back-end. This made NodeJS incredibly popular and a great language for small teams since you could easily move from front-end work to back-end work.
Installing NodeJS
Now that we know what NodeJS is let’s see how we install it on our system. Depending on what Operating System (OS) you have on your computer, the process will be a little different. Don’t worry; I’ll go over the best way to install NodeJS on each OS.
Windows
Many of you are probably on a computer that is running Windows. For this guide, it won’t matter much if you’re running Windows 11, 10, or 8 the process will be the same.
The first thing you will want to do is go to https://nodejs.org. There will be two options:
- The LTS (Long Term Support)
- Current
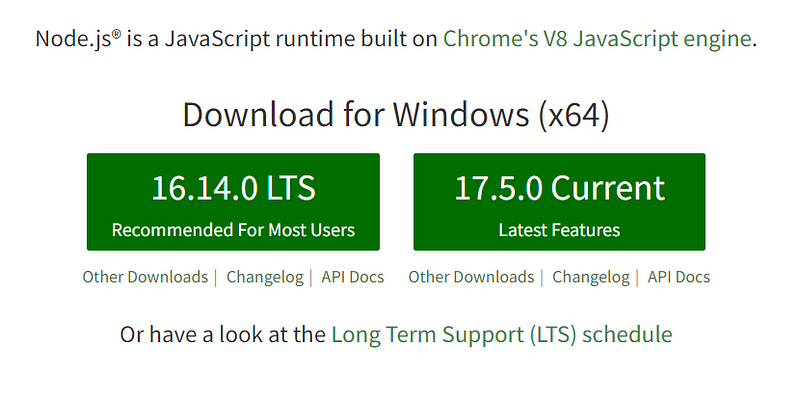
Don’t worry if the versions you see on the site are a bit different. You’re going to install the LTS version. If given the option, I always go for the LTS version.
Once you’ve downloaded the LTS version, click on it and open the installation wizard. You can simply click the next button until you hit the installation page.
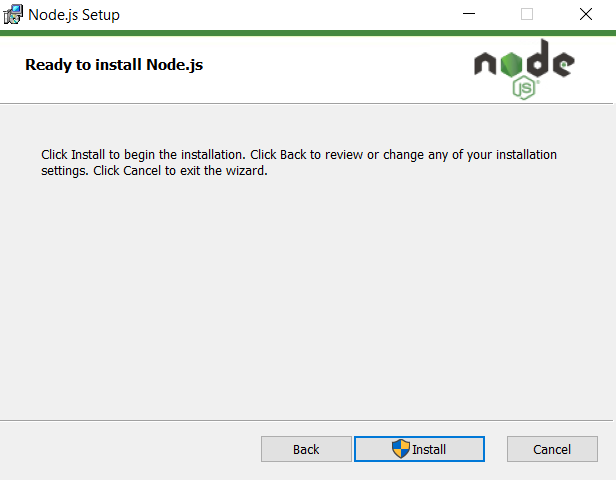
Hit the install button and then wait a few seconds for it to finish. Once it’s done, hit the finish button. That’s it! Now you have NodeJS installed on your machine. The last thing we have to do is to verify the installation to ensure everything is set up properly.
To do this, press the Windows key and search for “Command Prompt.” Believe it or not, the command prompt used to be the ONLY way to interact with your computer. Today, it is an alternate way of interacting with your computer and allows you to run specialized commands like the ones we’re about to do.

We’re going to enter the two commands (make sure you press the enter key after each command).
node --version
and
npm --version
If you look at my screenshot, you should see a version number after each command. This verifies that we can interact with NodeJS as well as NPM.
You may be wondering what NPM is, as we haven’t talked about that yet. This is the Node Package Manager. You can visit https://npmjs.com and see all the available packages you can install. These packages are NodeJS programs written to do various things for us. We’ll be working with these a lot, so don’t worry, I’ll go over installing and managing packages. What you need to know now is that there are two kinds of packages:
- Project-specific packages
- Global packages
We’ll see examples of all of these; for now, all you need to know is that global packages are available for you to use anywhere on your machine, while the project packages are only for use in the project you’re working on.
Mac & Linux
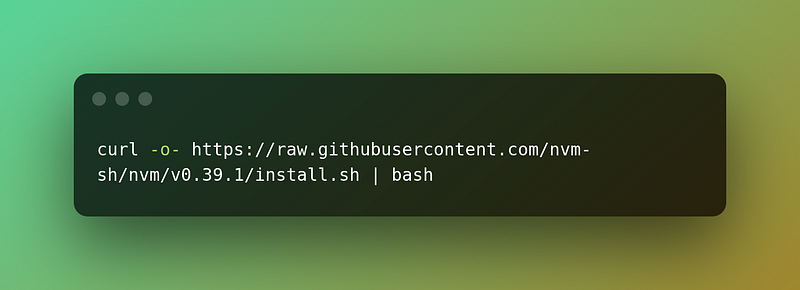
The process is effectively the same for both Mac and Linux. Rather than download Node from the website like we did with Windows, we’re going to use a tool called NVM (Node Version Manager). This is my favorite way to install NodeJS.
You’re going to go to the following site: https://github.com/nvm-sh/nvm#installing-and-updating.
This will have installation instructions which you’ll follow. Essentially, all you’re going to have to do is open up your terminal and enter the following command:
You’re going to want to visit the link above to get the latest version installed. Once that’s done, restart your terminal, and we’re going to use NVM to install NodeJS.
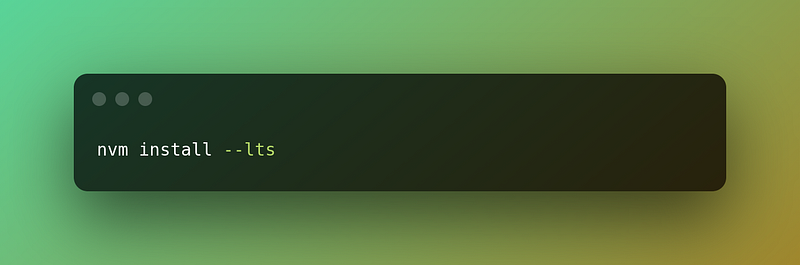
This is going to install the latest LTS version of NodeJS on your system. Once the installation is done, you should be able to follow the same verification process for the Windows installation.
TypeScript, Angular, and RxJS
We talked a lot about JavaScript earlier and what it does; however, Angular uses TypeScript. What is TypeScript? It’s a super-set of JavaScript that implements strict typing and some other things we won’t cover here. TypeScript isn’t a TOTALLY different language from JavaScript, but it also kind of is. Let’s show some examples.
Here’s a simple function that adds two variables written in JavaScript.
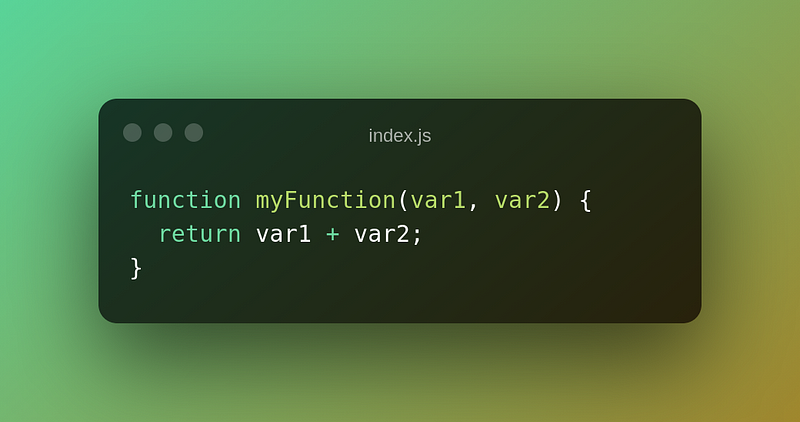
Here’s the thing with JavaScript, var1 and var2 could be ANYTHING. They could be a string, number, object, etc. Let’s see how TypeScript would handle the same function.
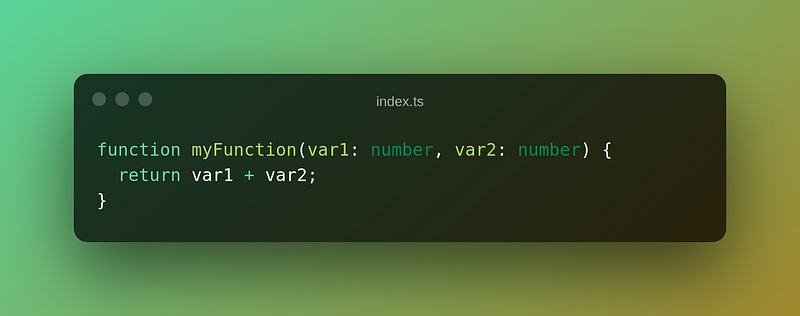
TypeScript implements a much stricter approach. The two input variables to our function can ONLY be numbers. If we tried to use that function with strings, the TypeScript compiler would throw an error because it was not expecting a string in that function.
I mentioned a compiler, but what is that exactly? Technically, this is a transpiler rather than a compiler.
A compiler is a program that compiles all the program files you’ve written into some form of an executable program of a lower-level programming language. On the other hand, a transpiler turns the code of one programming language into the code of another. TypeScript kind of does both. It takes your TypeScript code and turns it into JavaScript but also does some other things to make your resulting JavaScript file more efficient. With TypeScript, you’ll have a file that will allow you to customize how the compiler works with your project.
Installing TypeScript
TypeScript is an example of a global NPM package. It doesn’t matter what OS you have; after installing NodeJS everything will work the same.
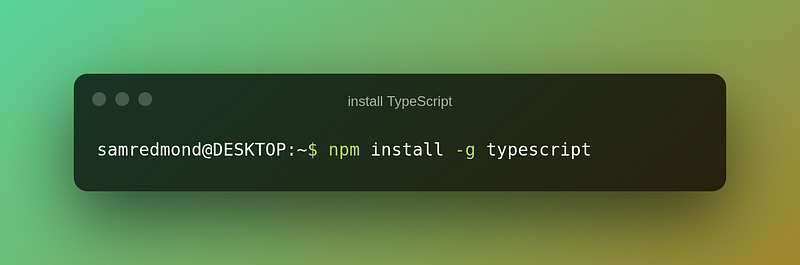
This will install TypeScript globally on our system. This isn’t exactly required, but I’ve found makes life a little easier down the road.
Angular
What else can I say about Angular? I’ve written, I don’t know how many articles about it. Today, we’re just going to go over the basics. Angular is a front-end framework used to develop SPAs or Single Page Applications. So far, we’ve been installing the foundation for Angular on our system.
There are a few things that I wanted to clarify. What is an SPA? We know it’s a Single Page App, but what does that mean? It all comes down to routing. A normal web app will have different routes for different pages. For example, let’s say our app has a home route and an about route. For a non-SPA application, these would go to different pages, and between each route, the app would essentially perform a reload.
On the other hand, an SPA won‘t have real routes. Rather, it will have virtual routes that are all loaded through a single point. If you notice in an SPA that there is no reload when you change routes. This makes the “route” change much faster and gives a better user experience. There are some downsides to SPAs that I may cover in a later article.
The other thing I wanted to talk about is the framework part. You’ll hear a lot about frameworks and libraries and there is a distinct difference. You can think of a framework like a toolbox you get that already has all the tools you’ll need for any job. On the other hand, a library is an empty toolbox that you will need to fill with tools yourself. I love Angular because I don’t need to go shopping for tools every time I start a new project.
Installing Angular
Angular uses a CLI or Command Line Interface to manage projects. To install Angular it’s really similar to installing TypeScript.

This may take a minute to finish, but we can verify our installation once it's done. You’re just going to enter the ng version command.
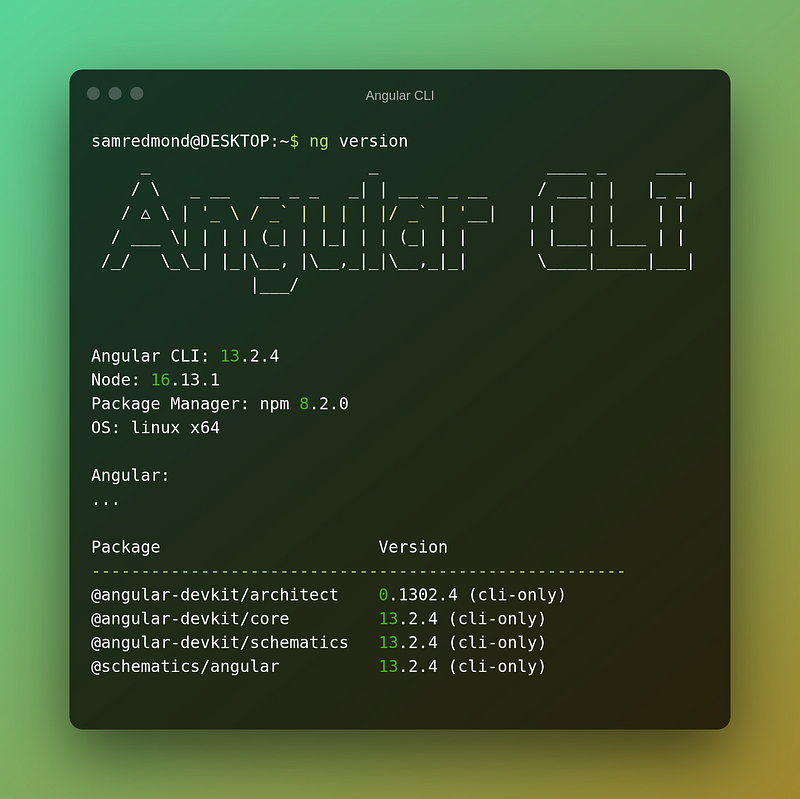
If everything is installed correctly, you should see the output above. Again, it’s ok if the version numbers are a bit different on your screen. If you see output like this, you’re good to go!
I wanted to mention that the ng command is just the Angular CLI that we’ll be using a lot in the future.
Following Up
I’m excited to bring more Angular content up now that there’s a foundation for it. If you’ve enjoyed this article, here are a couple of other ones to get you going on the Angular track:
An Angular Beginner’s Guide: https://sam-redmond.com/angular-for-beginners-understanding-angular-58e586198375
Understanding RxJS: https://sam-redmond.com/understanding-rxjs-with-angular-40eefeae5c02
If you’ve enjoyed this article, I’d love for you to join my mailing list, where I send out additional tips, tricks, and newsletters!